Cutting Curved Braces on the Table Saw Revisited
As you will recall, I posted an article on a couple of jigs I use to cut the curvature on my braces with a table saw. One jig for the 15 ft. radius and one for the 25 ft. radius.That article is still posted and, if you are not familiar with it, please read it before continuing this one.
Ever since I built the two jigs I wanted to come up with a way to incorporate both into one jig. At first, I thought I could just use either side of the board for each jig but the center section sat out beyond the edge of the board precluding using it up against the table saw rip fence. It would not work. So, I basically forgot about it and used 2 jigs for the top and back curvature and they worked fine.
Recently however, one of my students and a very good woodworker, John Coleman came up with a revision to the basic jig that allows one jig to do the work of two. I thought it was quite ingenious and he has agreed to let me share it with you.
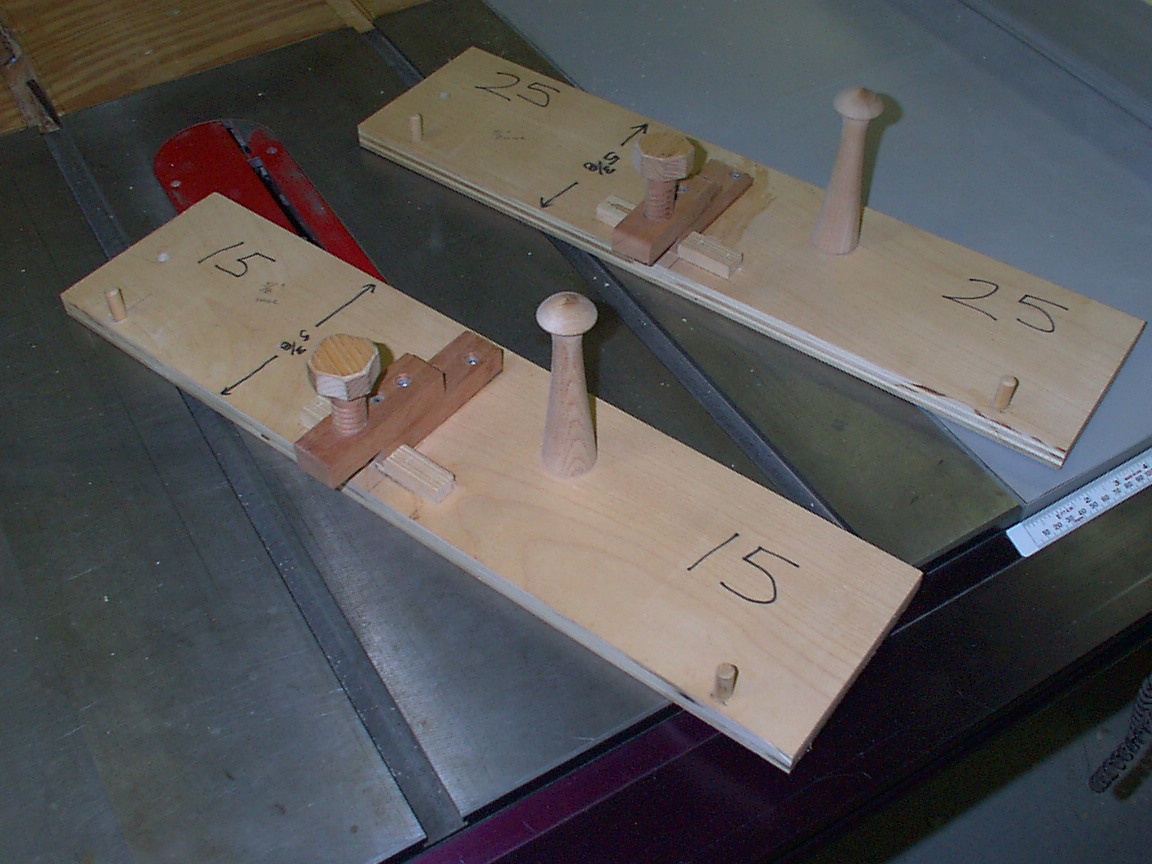
The old jigs looked like this:
The old system basically used the two outside dowels as holders of the end of the braces. The center of the brace was pushed in and clamped. The distance from the edge of the dowels to the edge of the board determined the amount of curvature cut into the brace. So, two jigs were necessary because the spacing for a 15 ft. radius would, obviously, be different than the spacing for a 25 ft. radius curve.
The new jig developed by John Coleman looks like this:

Immediately you will notice that the dowels appear to be replaced with rectangular blocks. However, the blocks are actually drilled to accommodate a dowel through them.


Look carefully at the rectangular piece. The dowel hole is not drilled in the center. Therefore, when pivoted to the 15 ft. side the distance from the end of the rectangular piece to the edge of the board is less than if the piece is rotated to the 25 ft. side. Also notice that there is a small (1/16") hole drilled in both the board and each side of the rectangular piece. When rotated to the appropriate side for cutting the hole, a 1/16" pin secures the location. You can see the pins and holes in the photo above. The rotation of the blocks accomplishes exactly the same goal as my two older jigs!
Should you wish to make this brace cutting jig the relevant dimensions for a 15 Ft./25 Ft. jig are:
Base Board 5 3/8" wide
Block in the center of the jig to the edge of the board: 5/8"
Dowel Centers from the edge of the board: 1 1/4"
5/16" dowels
Rectangular pieces are 1 7/8" with a hole centered 1" from one end of the rectangle (15' radius end). These dimensions automatically set the 25 ft. end.
Refer to the previous article on how to construct the center section. Enjoy...and thanks, John!